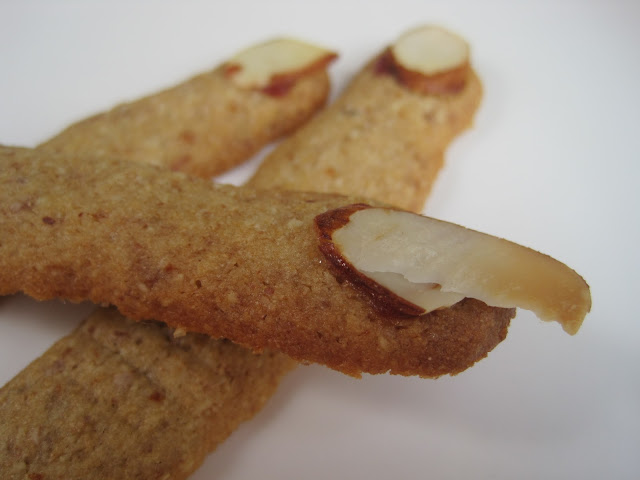
Witch Finger Cookies (The Healthiest Version in Town)

Okay, so there are about a million blogposts about Witch's Finger cookies out there on the interwebs. Consider this contribution #1,000,001. What makes my version stand out is that it is made with whole wheat flour, almond flour (which adds calcium and protein, among other nutritious things), and has a bit less sugar than other recipes. Oh, and did I mention that mine doesn't call for red food coloring, which has been linked to everything from hyperactivity in children to allergies to cancer? In true FBS fashion, I try to capture the fun, yummy, spookiness of these cookies in a clean eating way.
I adapted from this recipe at Fabulous Foods.
Ingredients
yields about three dozen or more (depending on what size you make them)
- 1 cup butter, softened (preferably grass-fed and/or organic)
- 2/3 cup sugar or Sucanat
- 1 egg
- 1T vanilla
- 1 1/2c whole wheat pastry flour
- 1 1/4c almond flour*
- 1t baking powder
- 1t salt
- raw sliced almonds
- 100% fruit spread (raspberry or strawberry or anything red)
*I like to use the flour from unblanched almonds; I think the little brown speckles just add to the witchy-skin feeling. But you can certainly use the kind from blanched nuts for a less mottled look.
 |
| All by himself and no shell in the bowl! |
Dip the sliced almond into a teensy bit of the jam, then press lightly onto the cookie dough to form a "fingernail."

 |
| Cookies are a family affair around here. |
My son's version looks a little ingrown. Ick.

My fingernails (below) are in a bit better position. I also formed the fingers so they'd be a little thicker at the knuckle and used a sharp knife to make tiny slashes to add to the knuckle-like appearance. Place the cookies a couple of inches apart on a cookie sheet lined with parchment paper.
The cookies are ready when they are a pale golden brown. They will be quite delicate so be careful when removing them from the sheet to cool on racks.


Wow, that is a great idea! Thanks for sharing it :-)
ReplyDeleteI've made similar ones with whole wheat pizza dough and pumpkin seeds- due to a nut allergy. Dip them in marinara sauce for a meal instead of a cookie.
ReplyDeleteeeek! devilishly delicious! ;-)
ReplyDelete